
Add or change a student's photo
Photos help you to put names to faces, making it easier to award points, especially for a substitute.
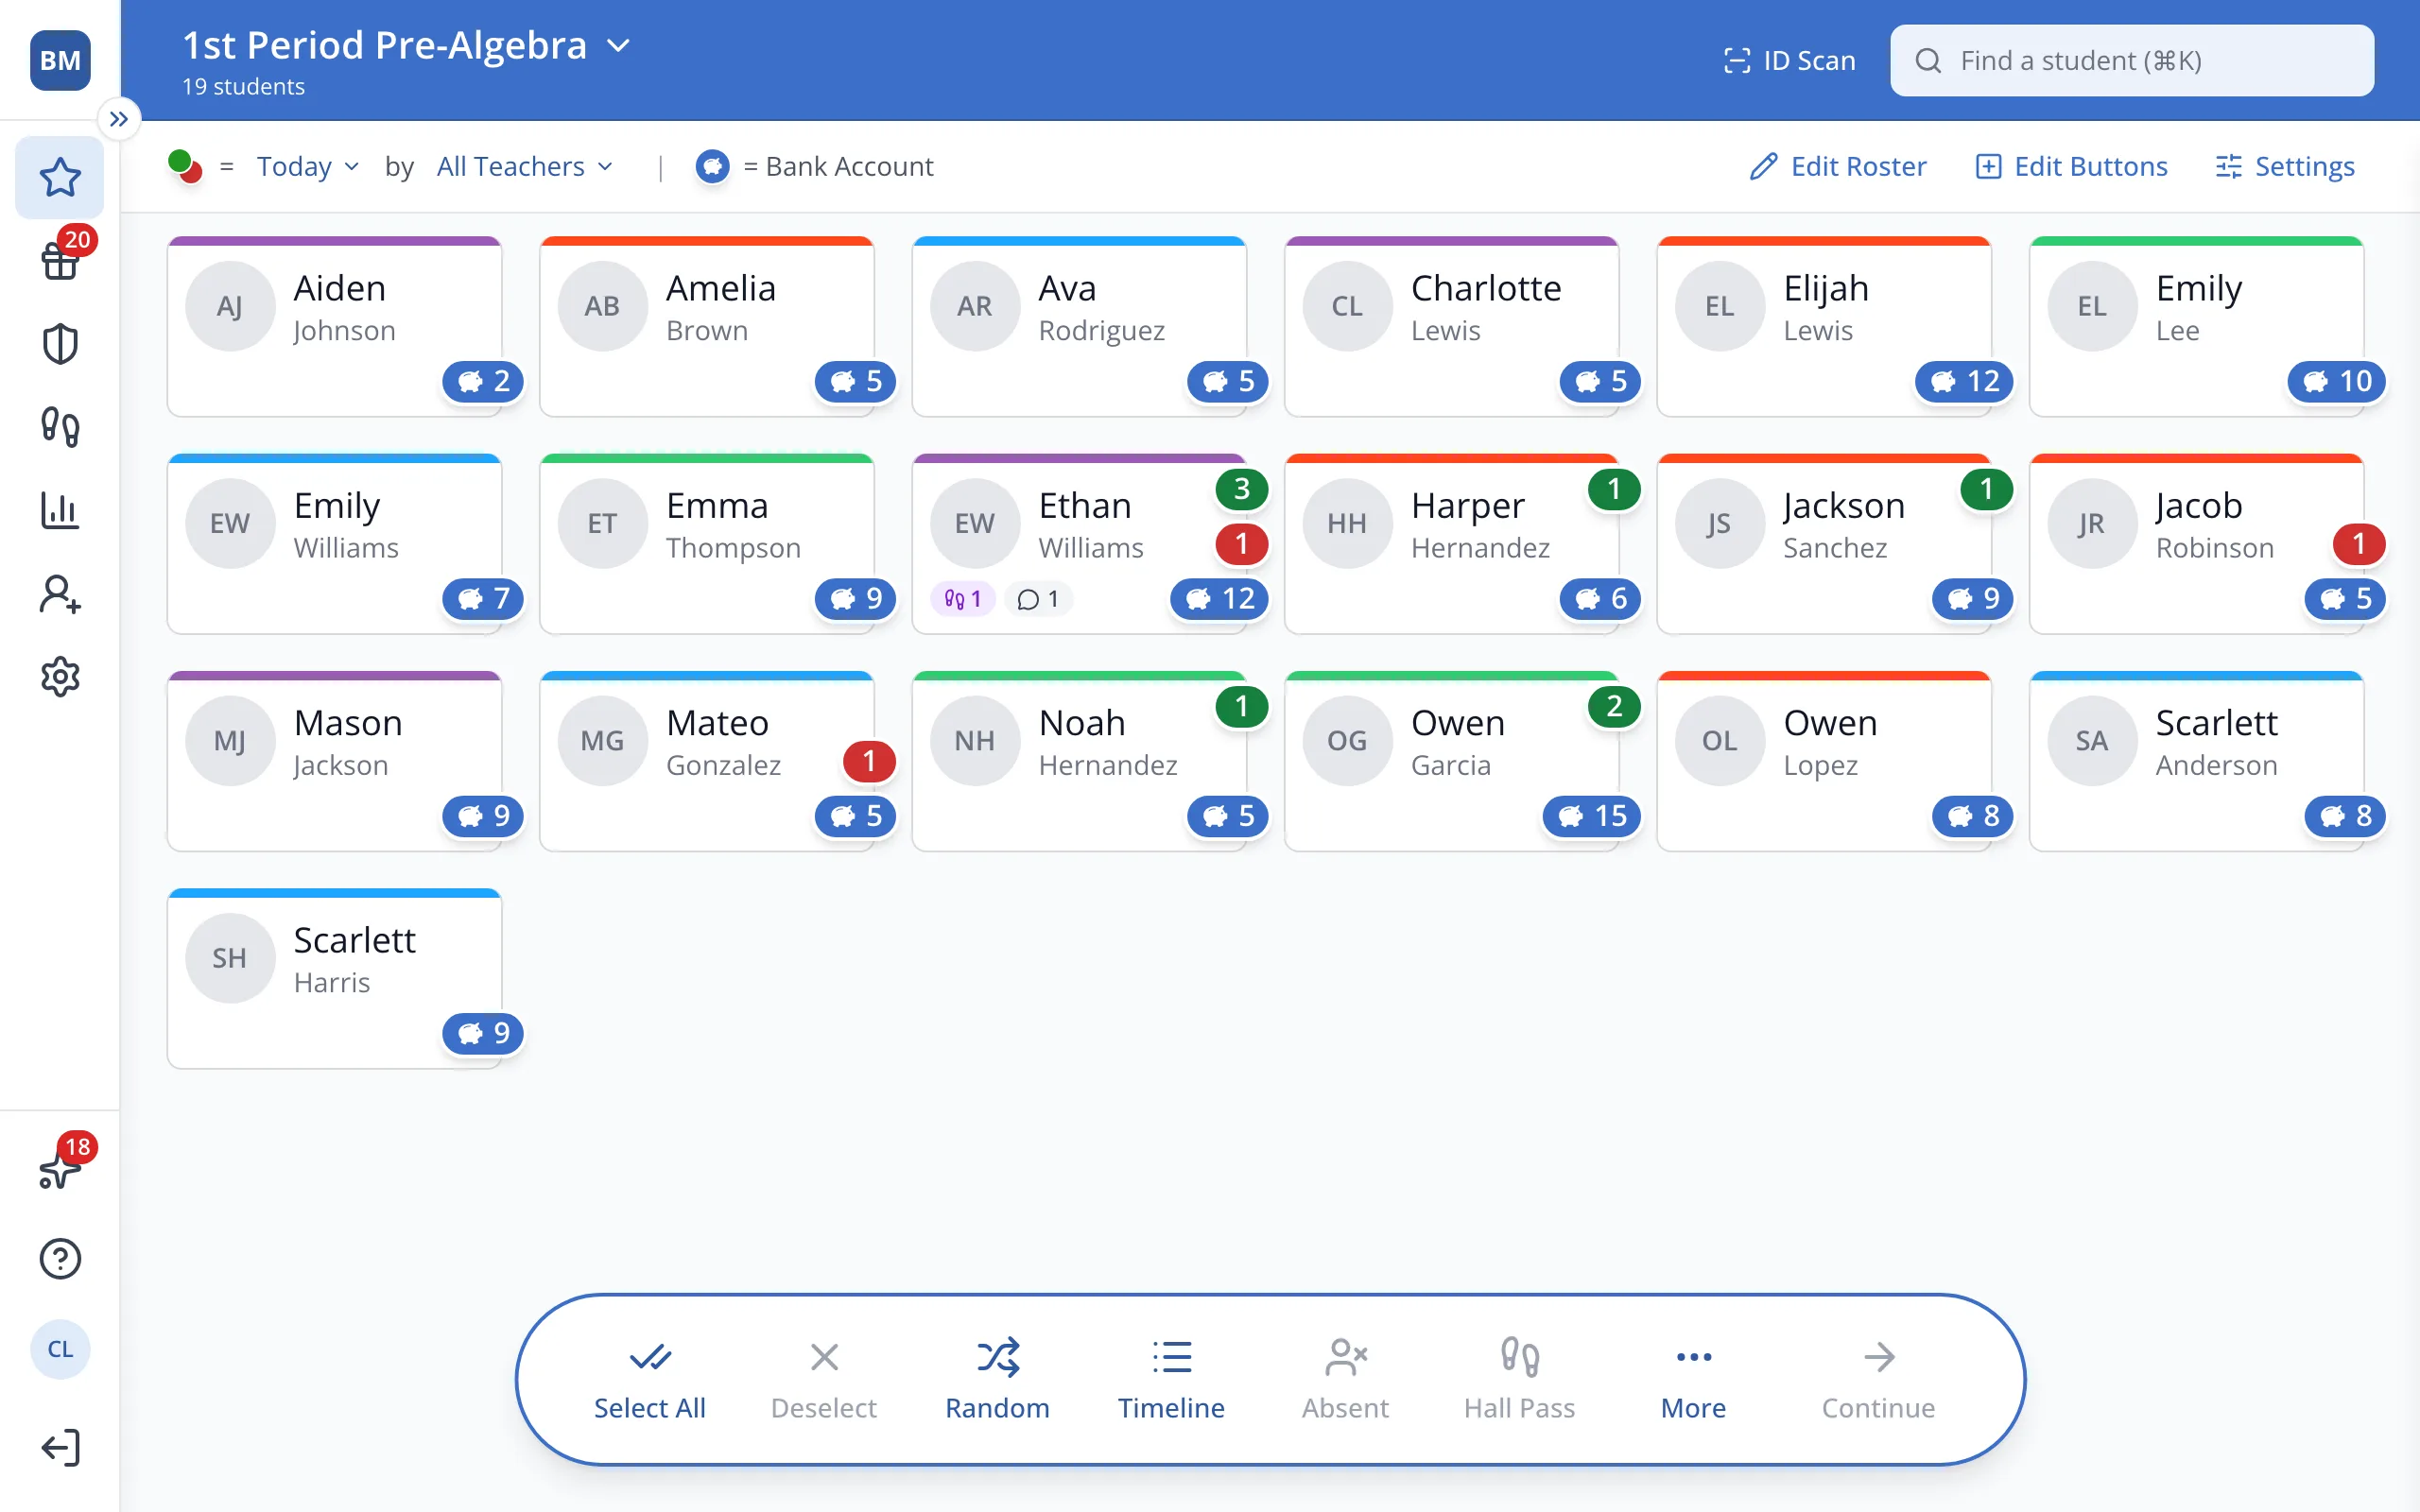
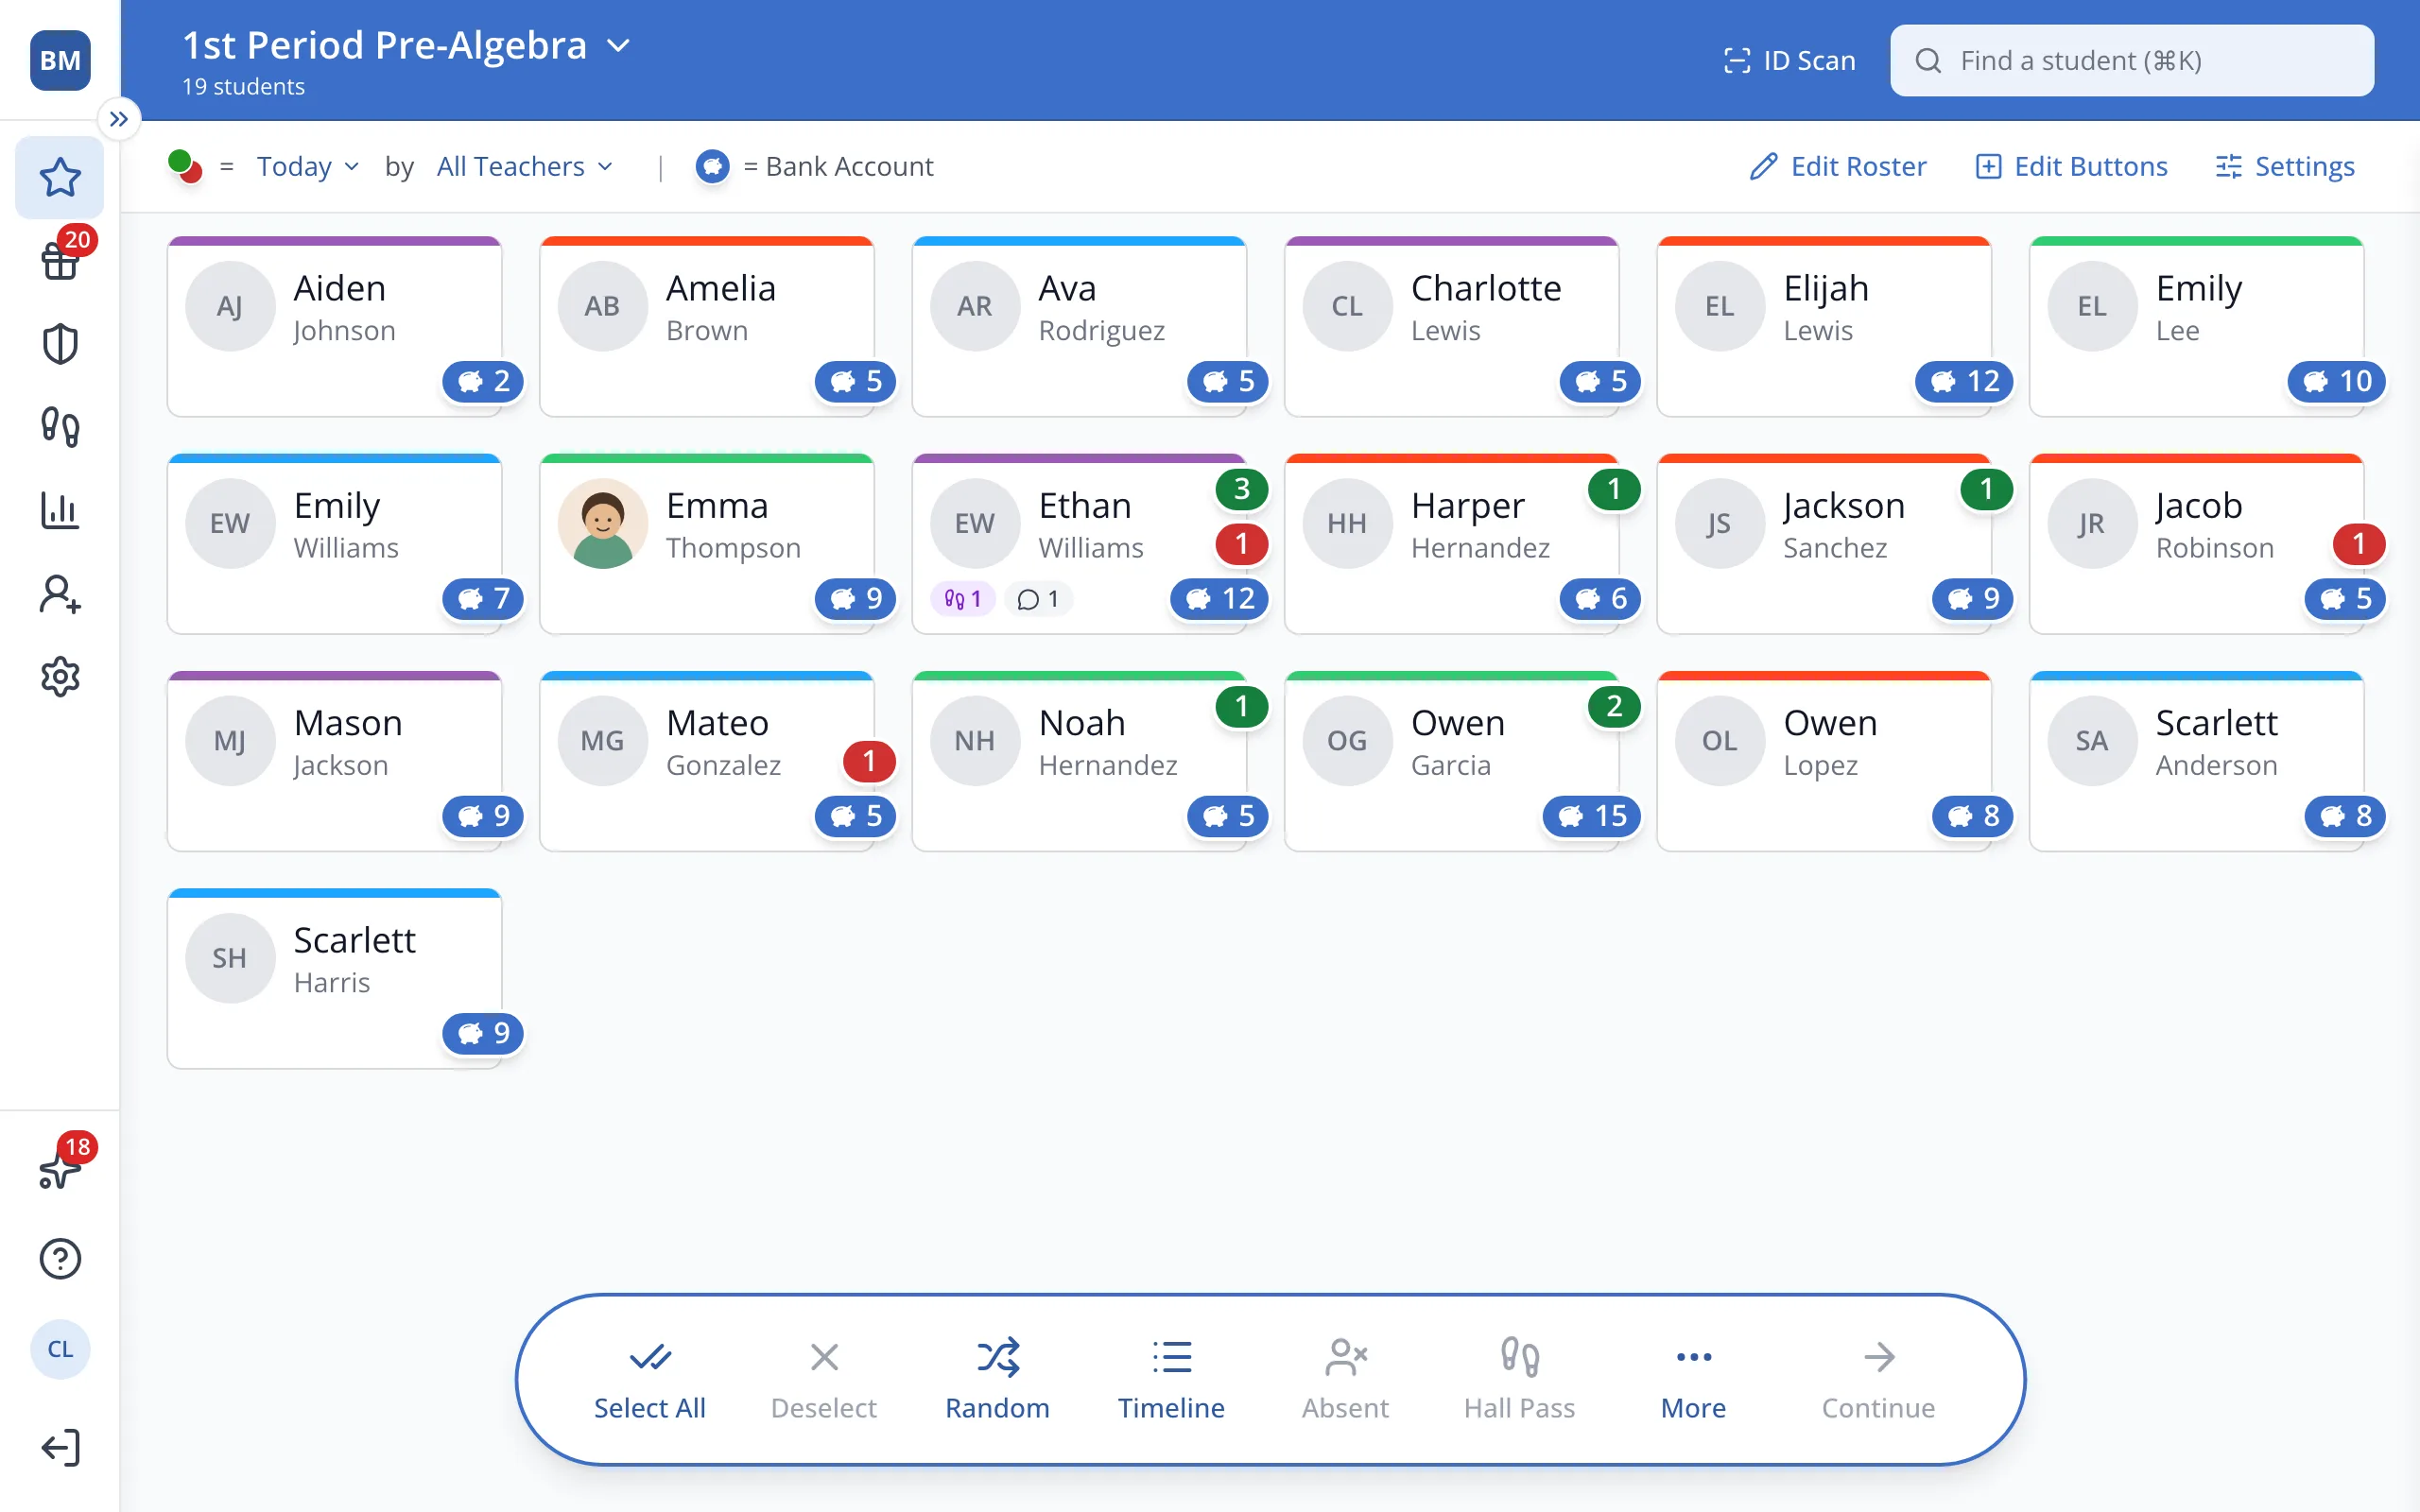
1 / 5On the Points page, click the circle with the initials of the student.
1.On the Points page, click the circle with the student's initials.
Tip: Photos must be enabled under Points Settings to begin editing.
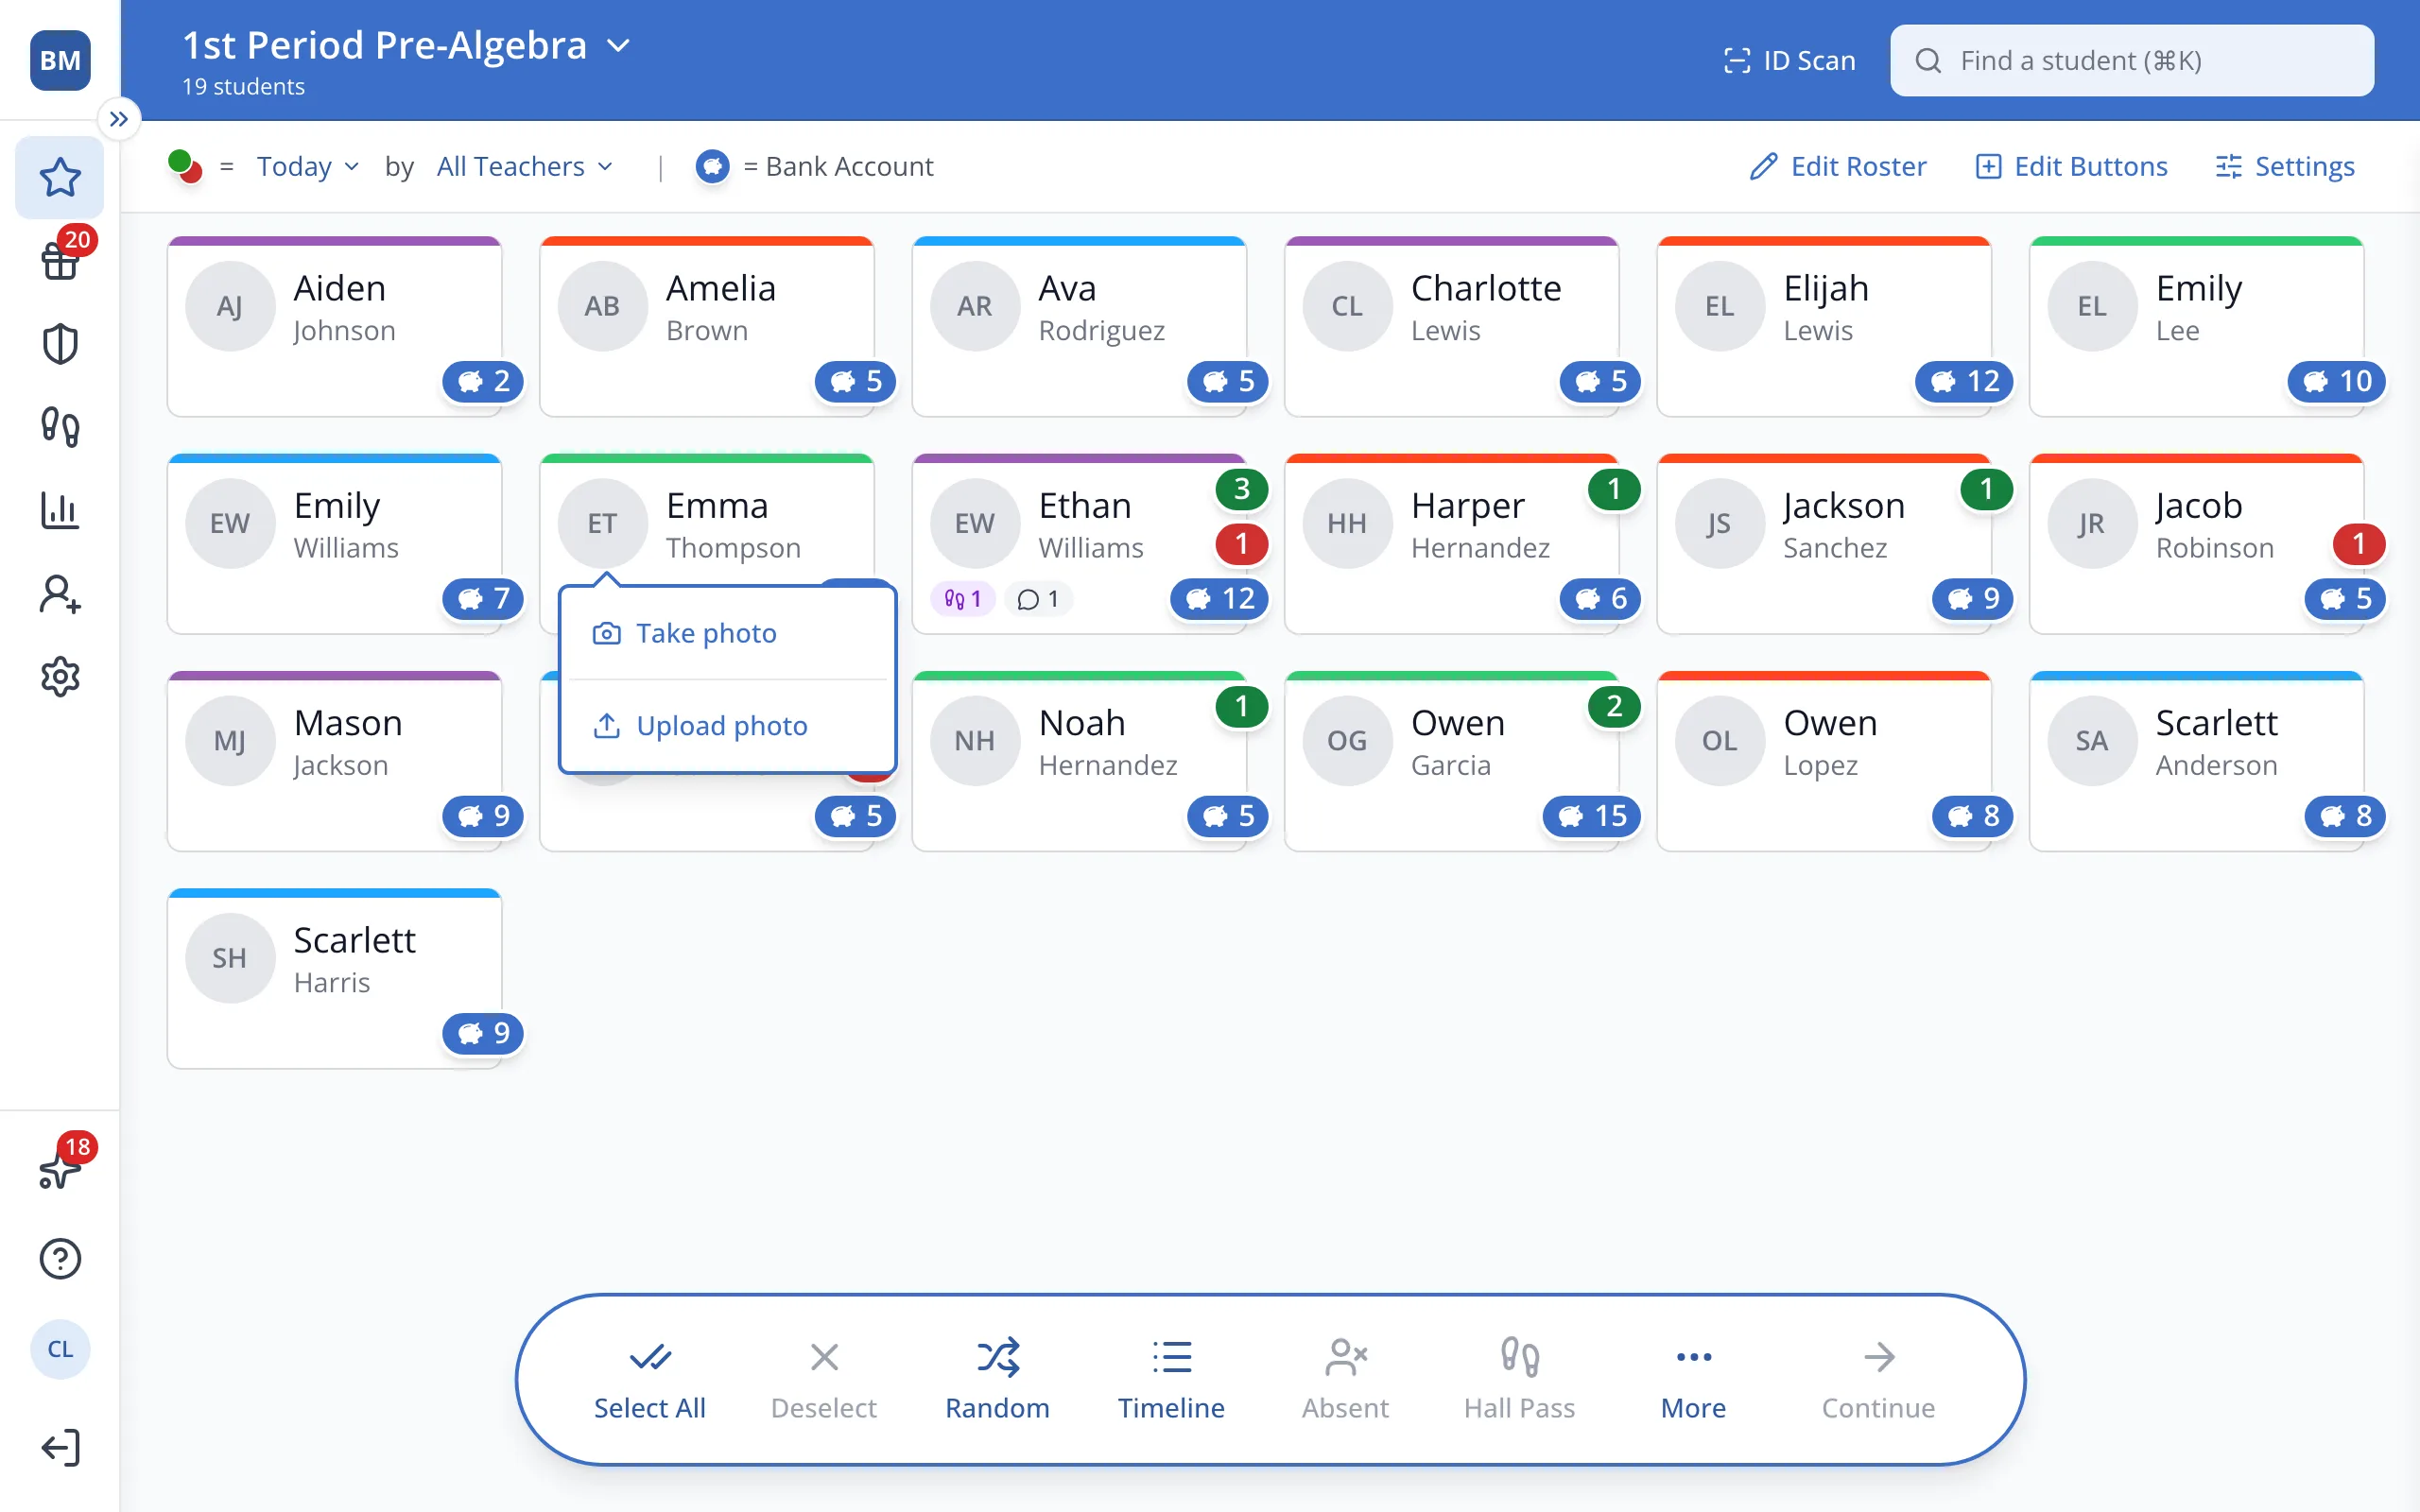
2.Click Upload photo and pick the photo from your computer.
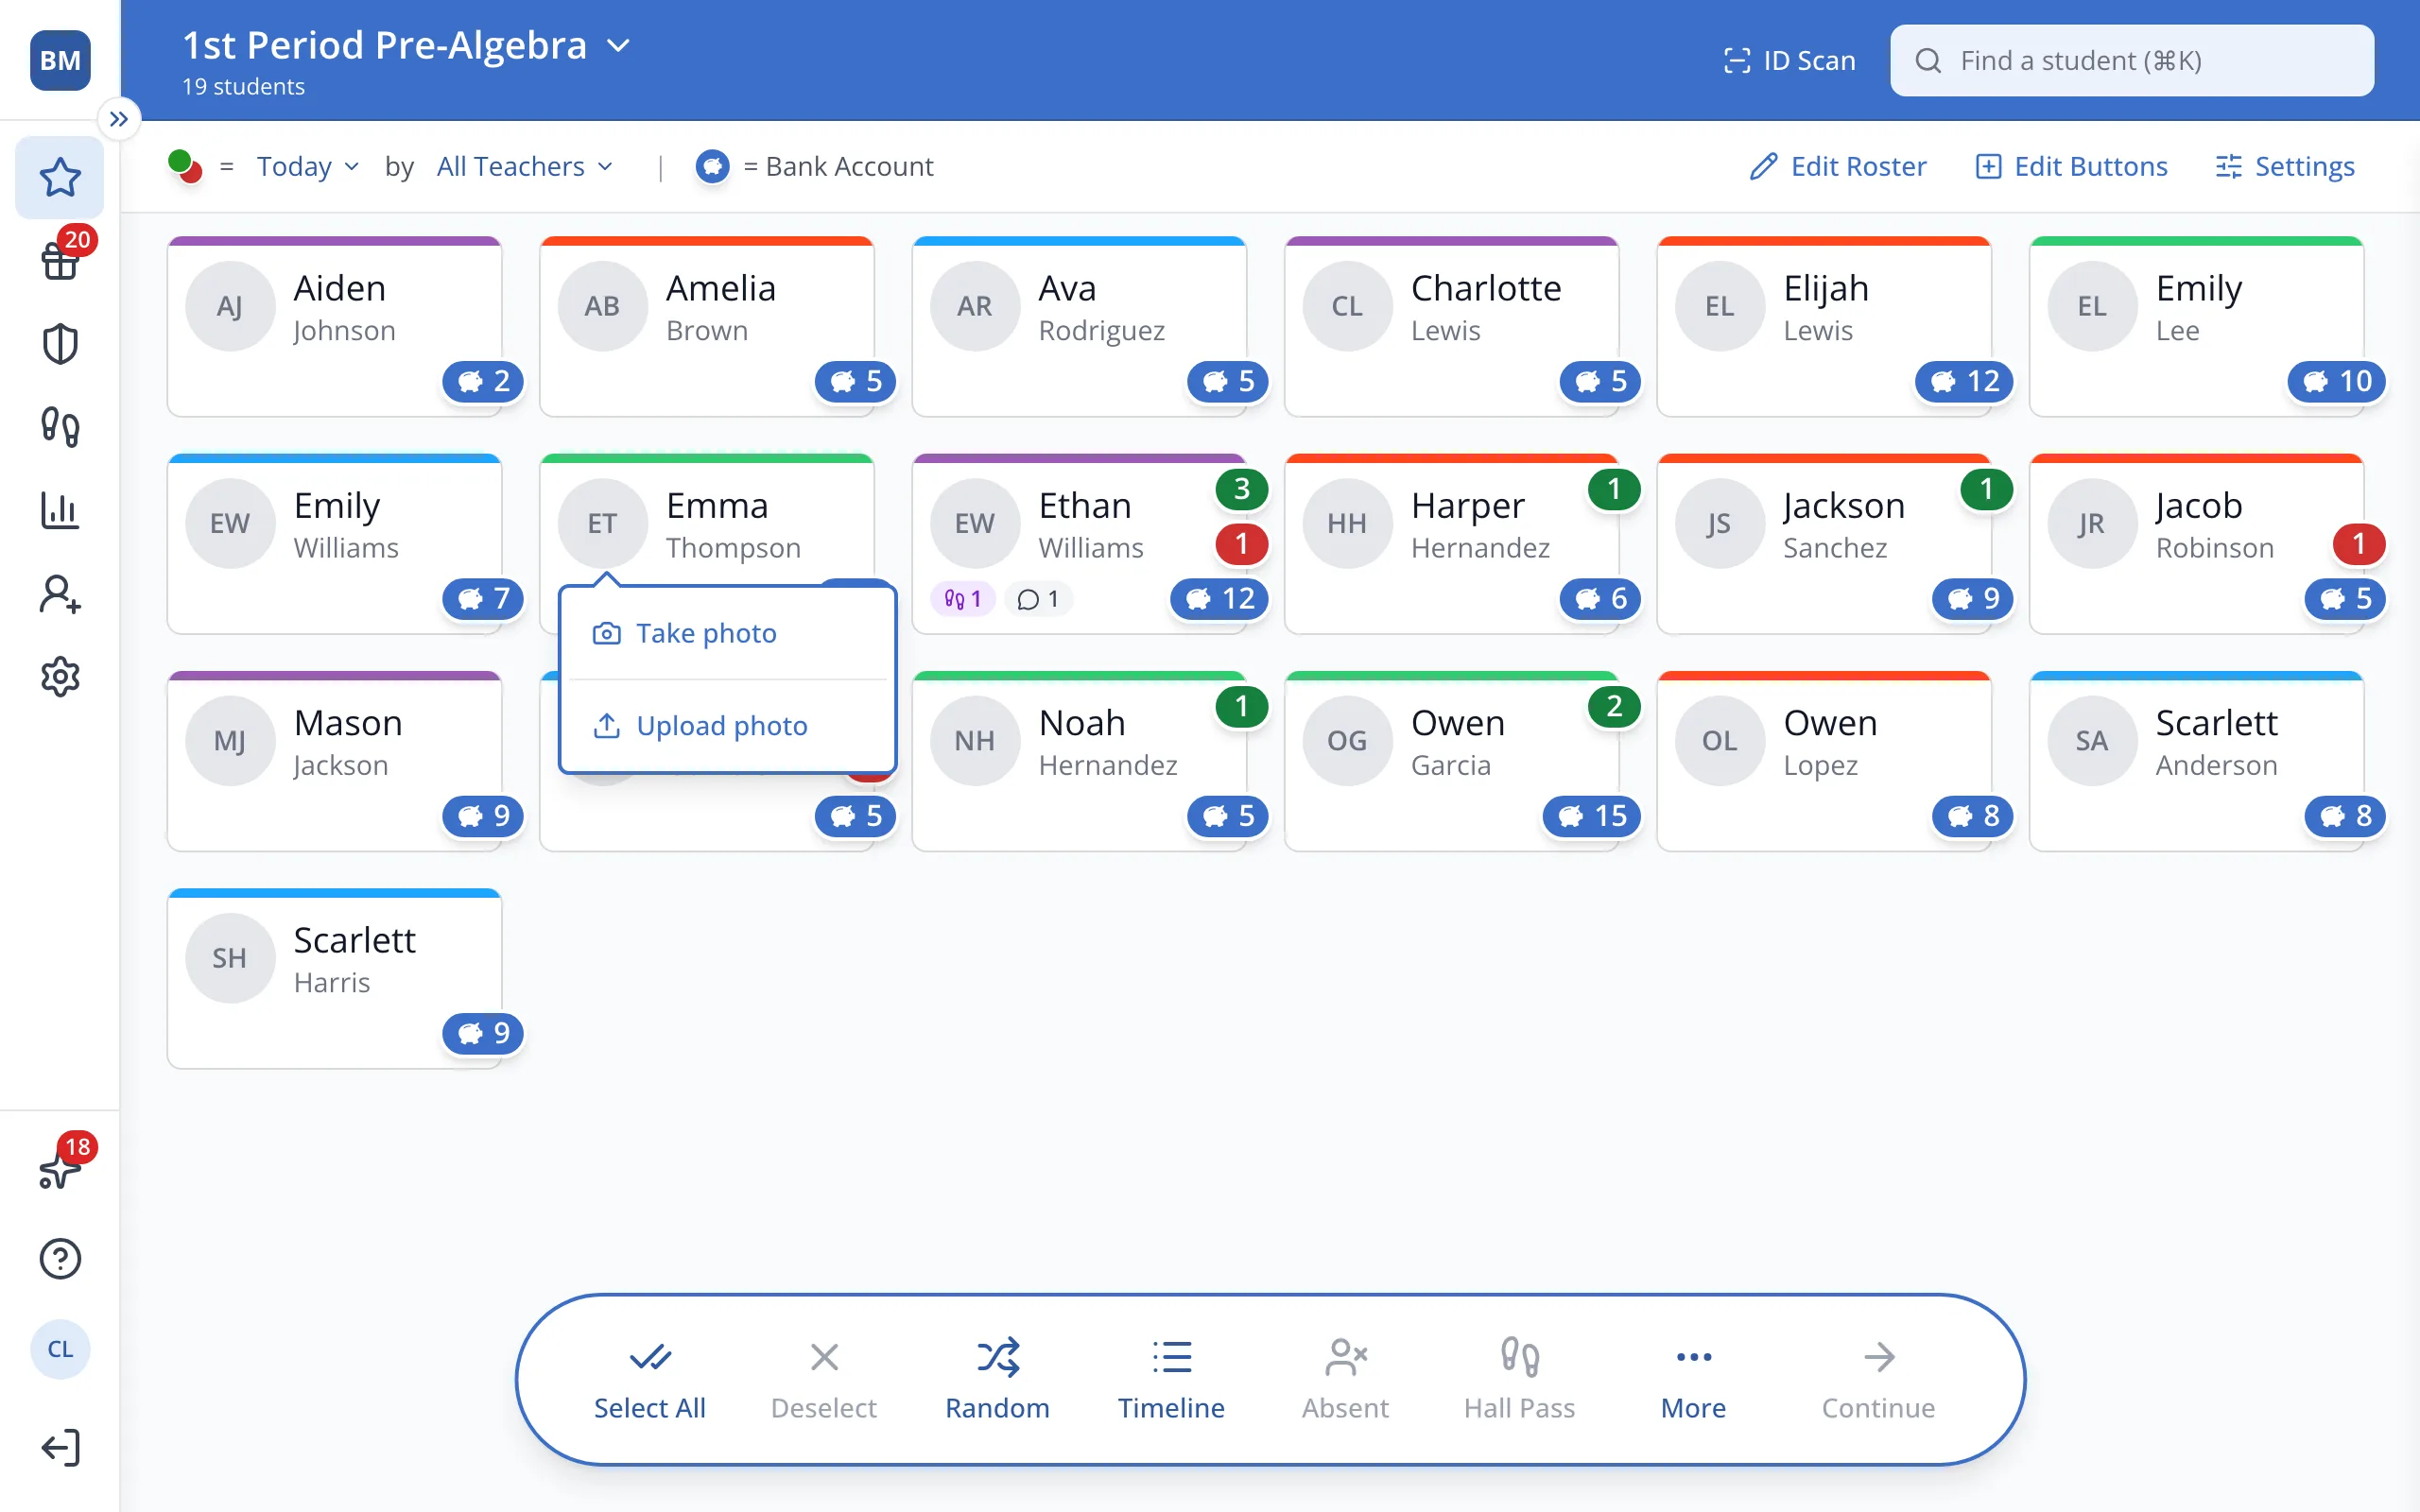
3.Drag the photo to center the face, and use the slider to zoom in.
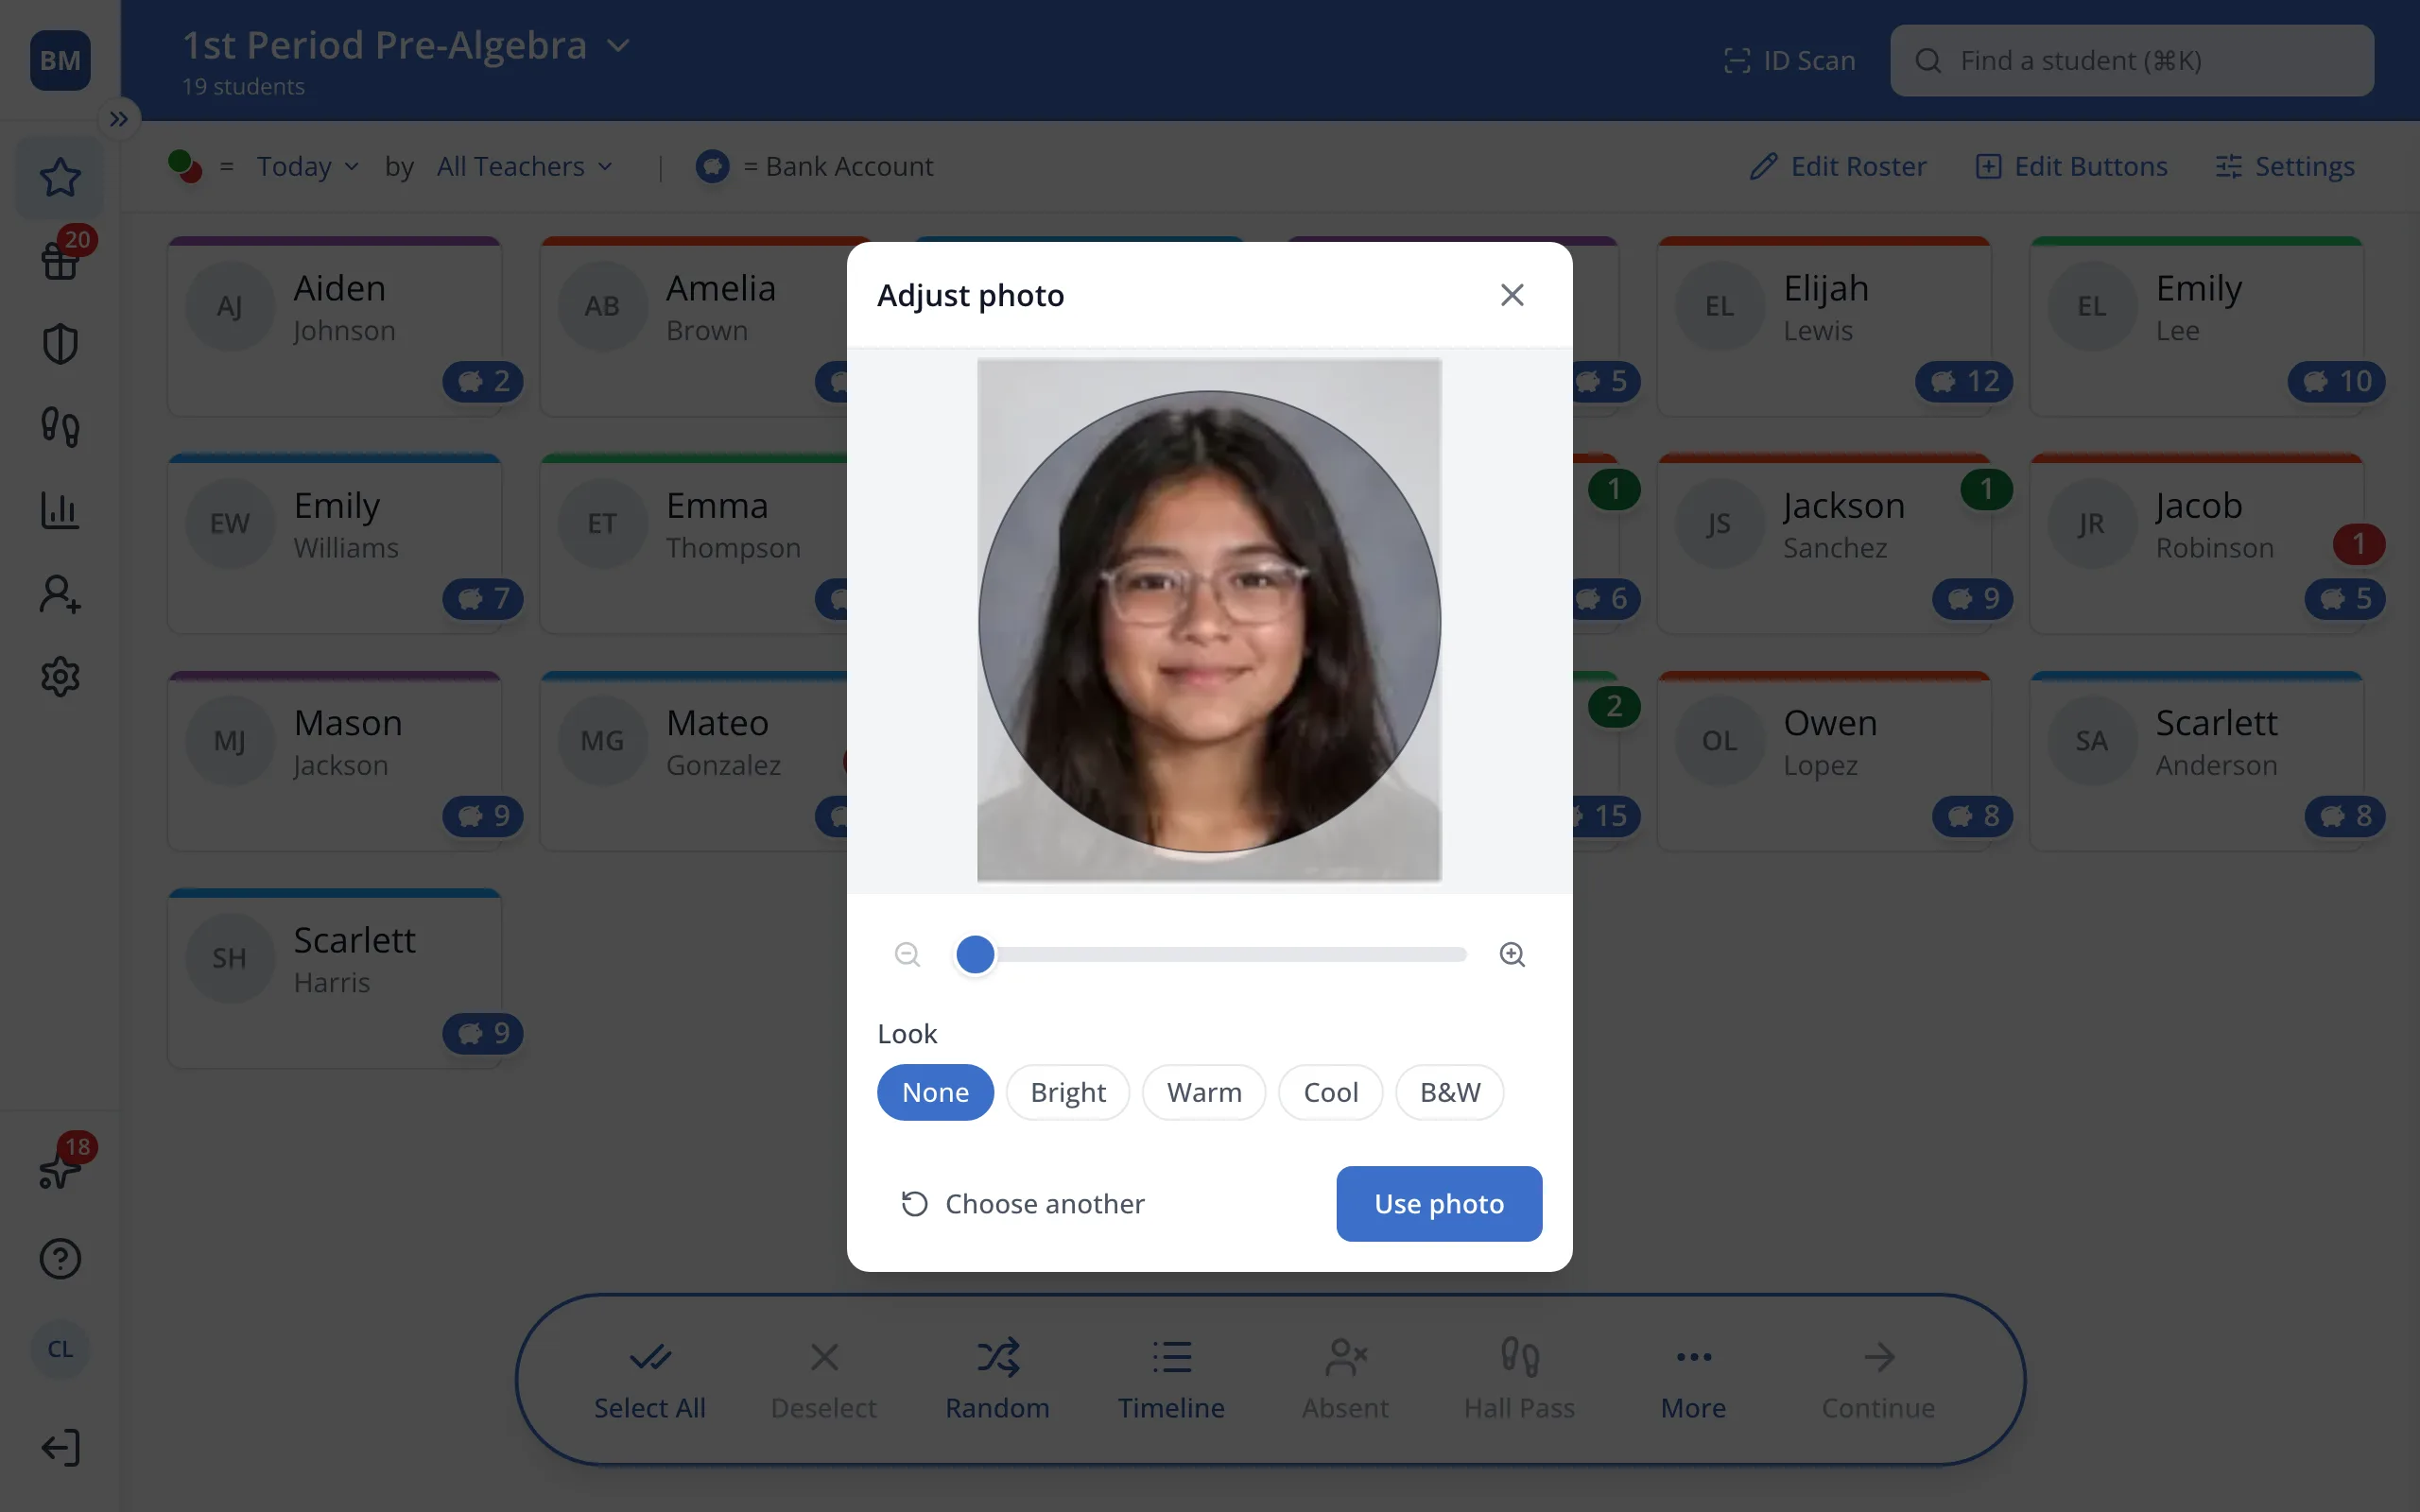
4.Click Use photo.
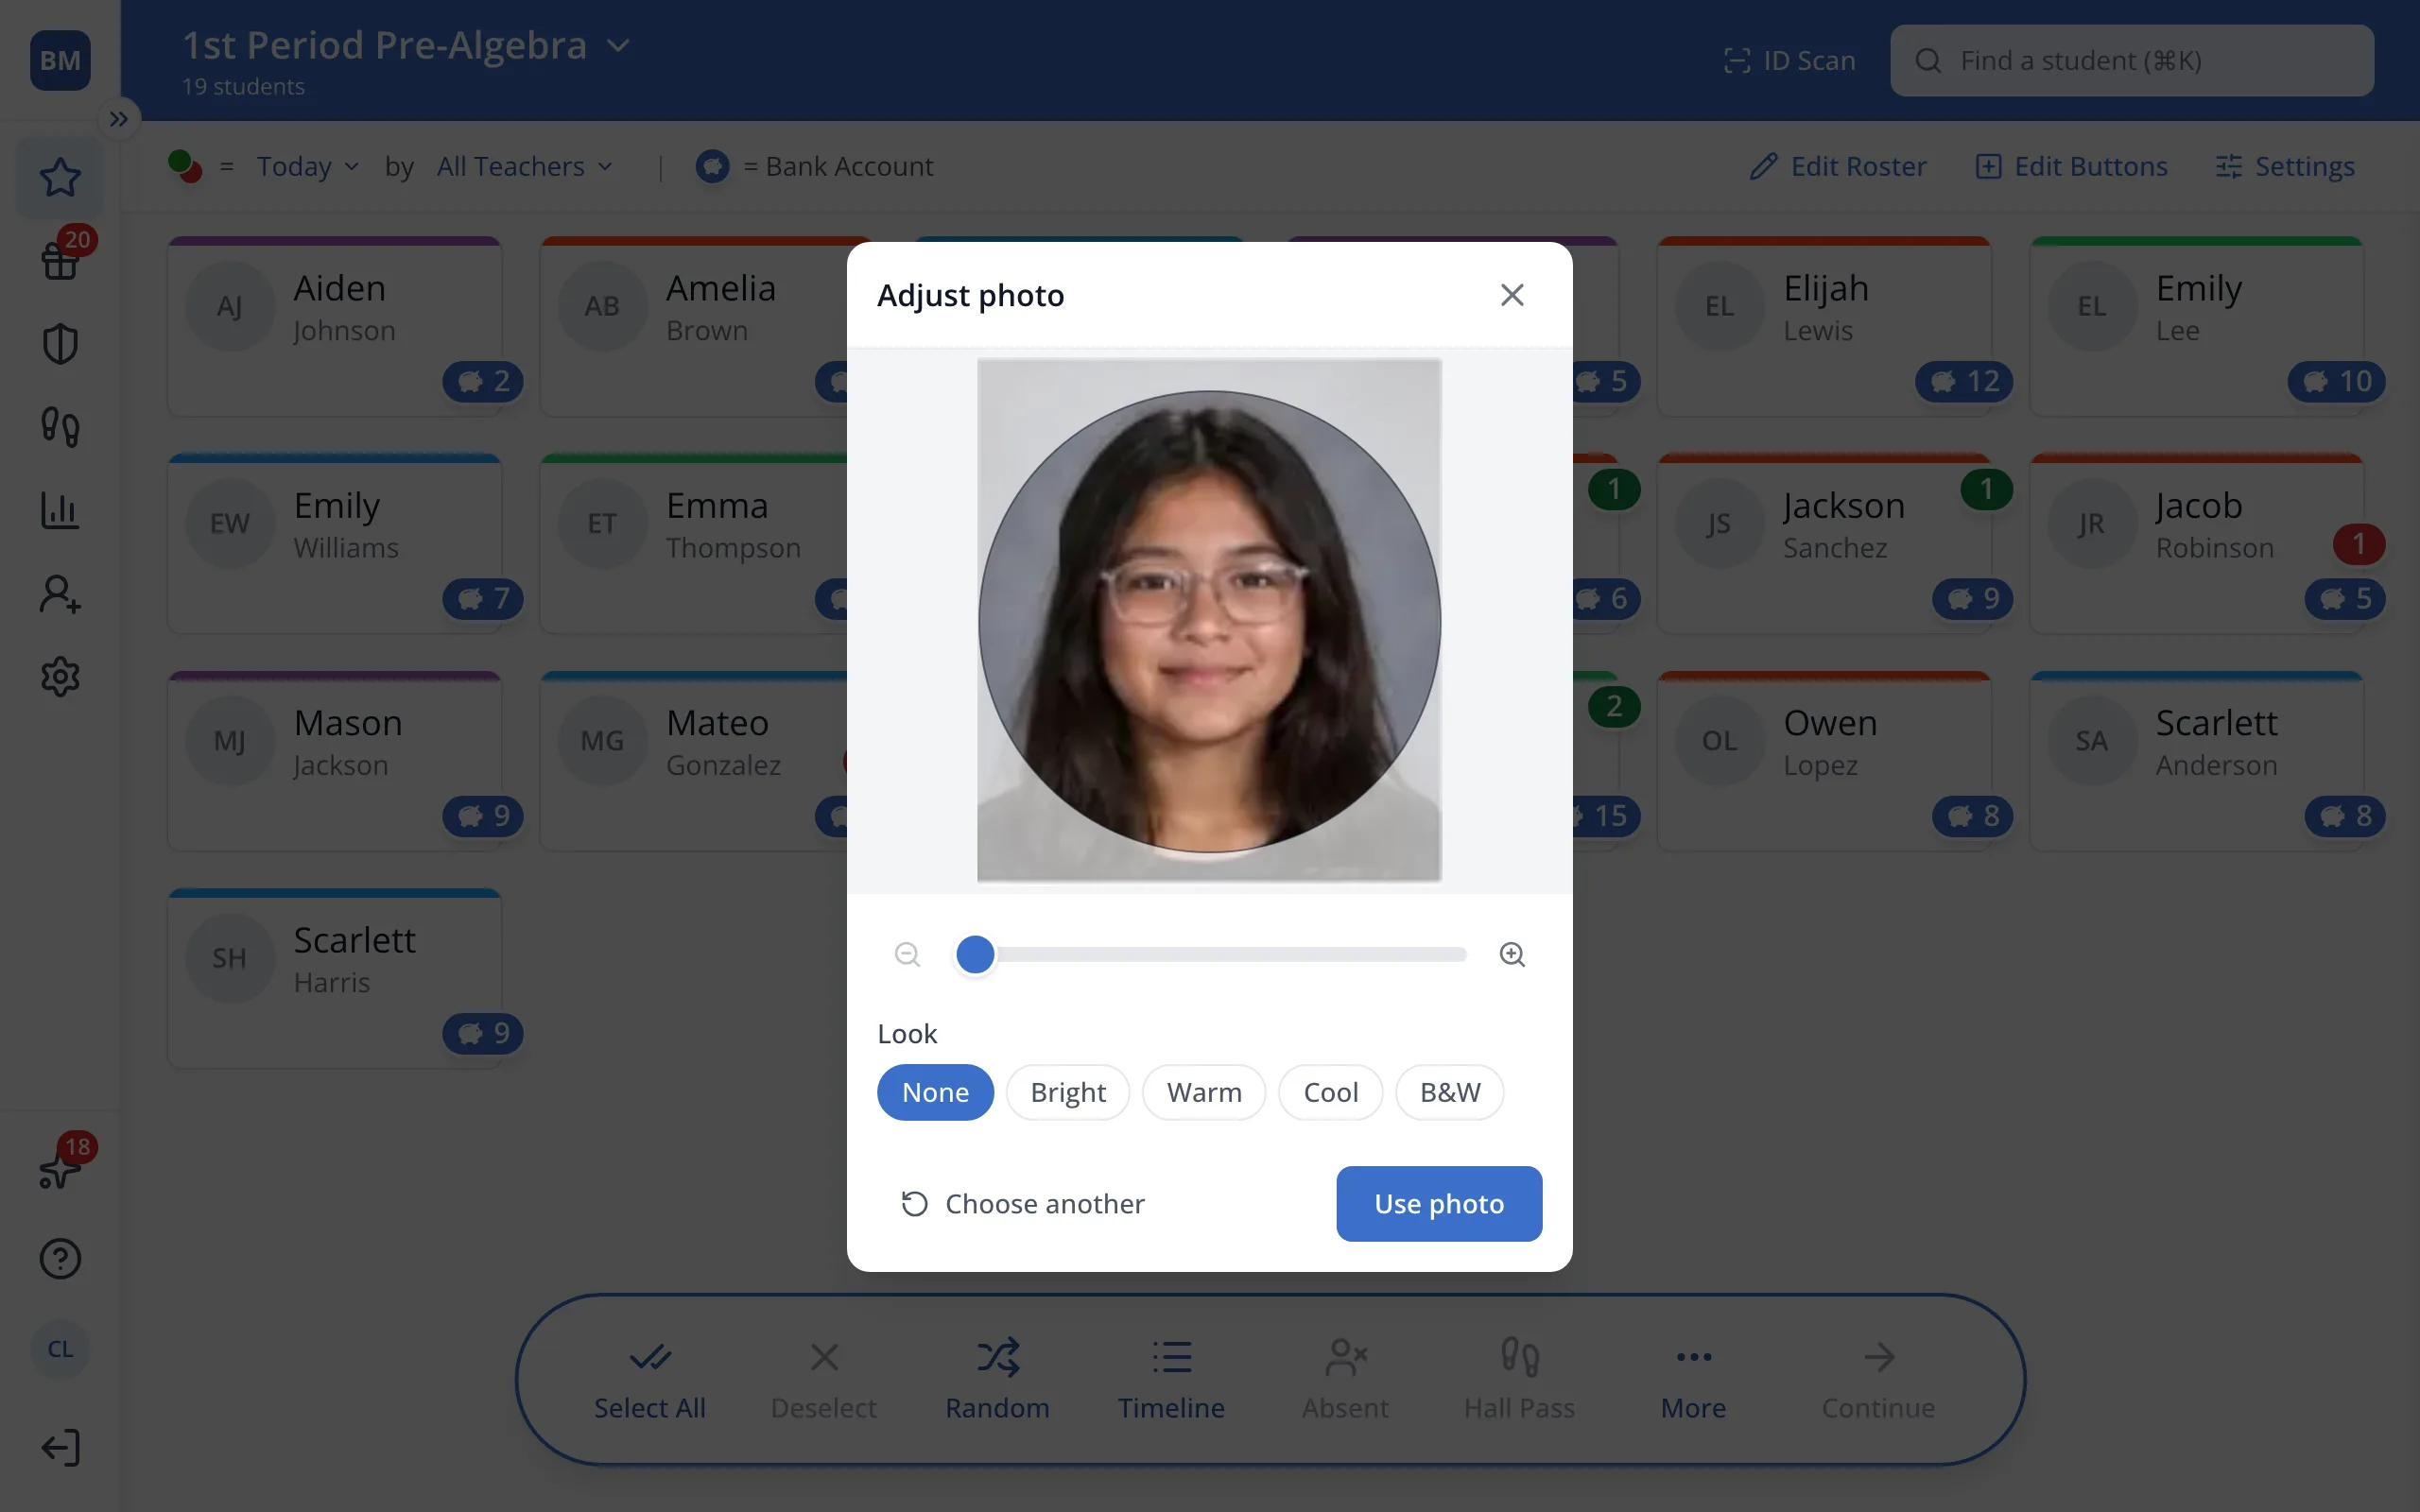
5.Click the photo any time to change it.
Was this helpful?